A Beginner's Guide to Core Strength for Back Pain
Your back has been grumbling for a week. Sitting at the kitchen table is uncomfortable, standing up from the sofa takes a small negotiation, and someone has told you to "work on your core". It is decent advice, just vague advice. This guide turns it into something you can do tonight on a rug in your living room: five straightforward movements, clear reps, breathing you can actually follow, and a sensible way to make things harder once they get easy.
None of it is glamorous. It is the slow, repetitive work that helps a lot of people with persistent low back pain move more comfortably again.
The core is not just the visible abdominal muscles. It is a set of deeper muscles wrapped around the spine, working alongside the diaphragm, the pelvic floor and the glutes. Their everyday job is not to produce force but to create a steady, controlled trunk while your arms and legs get on with moving.
When a back is sore, that system can become either overprotective and tense, or slow to switch on when you need it. Training it is less about holding a plank for three minutes and more about teaching your trunk to stay calm under small, controlled loads. Two principles run through everything below: quality beats quantity, and you stop before pain, not after it.
A quick check before you start:
Do these in order, resting for thirty to sixty seconds between them. For your first two sessions, stick to the first three movements only.
Lie on your back with knees bent, feet flat and hip-width apart. Rest one hand on your lower ribs and one on your belly. Breathe in through your nose for three or four seconds, letting the ribs widen rather than the shoulders lift. Breathe out slowly for five or six. Do five breaths like that.
Now add the brace. On your next exhale, gently firm the muscles of your lower belly as if you were about to be poked there, or as if you were steadying yourself before a cough. It should feel like roughly twenty to thirty per cent effort. Hold for five seconds while breathing normally, then release. Five repetitions.
Think of a steady drum, not a clenched fist. If your jaw or toes are tightening, you are working too hard.
Lie on your back with knees stacked over hips and arms pointing at the ceiling. Brace gently. Slowly lower your right arm overhead and your left leg towards the floor, going only as far as you can before your lower back starts to arch or shift. Return to the start and swap sides. Move over three seconds each way. Two sets of six to eight on each side.
Feet flat, heels about twenty centimetres from your bottom, knees bent. Exhale, press through the heels and lift your hips until your trunk and thighs form a straight line. Squeeze the glutes to get there rather than arching your back. Hold for three seconds, then lower slowly. Two sets of eight to ten. If your hamstrings cramp, bring your heels slightly closer to you.
On hands and knees, hands under shoulders and knees under hips. Brace, then reach one arm forward and the opposite leg back, keeping your hips level as though balancing a mug of tea on your lower back. Hold for three to five seconds and return slowly. Small range done well is far better than a big wobble. Two sets of six on each side.
Lie on one side with knees bent to ninety degrees, resting on your forearm. Lift your hips so your body forms a straight line from knees to head. Hold for fifteen to twenty seconds, then lower. Three holds on each side. Skipping this one for the first fortnight will not set you back.
Holding your breath makes everything harder and tenses the very muscles you are trying to settle. Breathe out on the effort: as you lower a leg, as you lift your hips, as you reach an arm away. Keep the ribs wide on the inhale and add a light support on the exhale. If you cannot say a short sentence out loud while working, you are pushing too hard for this stage.
Change one thing at a time, and only after you have completed your current sets comfortably for two sessions in a row. The usual order works well:
When you make a step harder, drop back to the lower end of the reps for a session or two. Expect good days and stiff ones. On a stiff day, do the first three movements only and call it a win.
Stop and get help if pain increases sharply, spreads down a leg, or comes with numbness, tingling or weakness. Seek urgent medical care for loss of bladder or bowel control, numbness around the saddle area, or severe pain after an injury. And if your back is no better after a few weeks, or is gradually worsening, book an assessment with a GP or physiotherapist rather than pushing on. The guidance here is general and no substitute for someone examining you.
Week one: movements one to three, three sessions, roughly ten minutes each. Pick fixed days, such as Monday, Wednesday and Saturday, and do them at a time you are unlikely to be rushed. Week two: add the bird dog and change nothing else. Keep a note of your reps on your phone so you are not guessing next time.
Outside the sessions, walk for ten to twenty minutes most days and avoid long spells in one position. Do not keep testing your back by bending forward to see whether it still hurts; that tells you nothing useful and often makes you tense. Give it four to six weeks of steady, boring consistency before you judge whether it is helping. Most people find that the improvement arrives quietly, in the form of a morning that starts a little easier than the last.
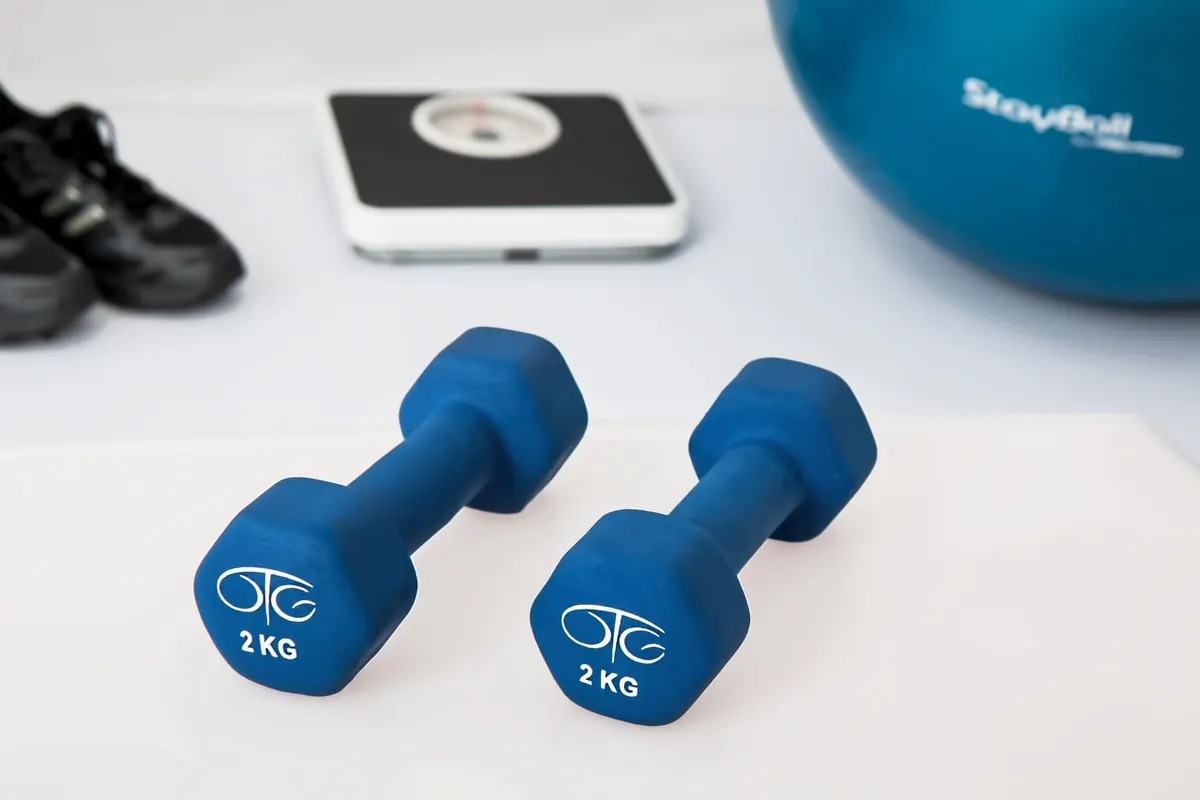
Photo: stevepb / Pixabay
Previous Post
How to Sit on a Sofa Without Wrecking Your Lower Back
Next Post
Discectomy vs Spinal Fusion: A Plain-English Comparison